YOLOv7使用教程
创建 conda 环境
翎霄科技出品的无人机在出厂时已经预装好了Anaconda环境,如果你还没有安装好 Anaconda,请先根据官网教程把它装上
bash
roscd yolov7_ros/src/yolov7_ros/yolov7
conda create -n yolov7 python=3.7.13
conda activate yolov7
DANGER
conda 环境只在训练和测试 YOLO 时会用到,其他时候必须关掉,否则可能无法正常启动 ROS 节点!
有两种方式可以关掉:
- 暂时关闭:直接在终端执行
conda deactivate - 永久关闭:在
~/.bashrc文件中注释掉与 conda 相关的内容
安装一些 Python 库
安装 PyTorch 库
访问PyTorch官方网站,根据自身需求安装合适的版本。
例如:对于非 NVIDIA 显卡用户,执行以下指令:
bash
conda install pytorch==1.13.1 torchvision==0.14.1 torchaudio==0.13.1 cpuonly -c pytorch安装其他库
bash
pip install wandb
pip install -r requirements.txt
- 访问官方网站
以上是我个人准备的数据集,如果你已经准备好了自己的数据集,请直接跳过这一步
- 点击右上角
Download Dataset - 选择
Download Dataset - 点击
Continue
.DkQ4-qVL.png)
- 将
Format选为YOLO v7 PyTorch - 将
Download Options选为Download zip to computer - 点击
Continue
.D5BEd_lt.png)
- 将.zip 压缩包保存在
~/uav_ws/src/uav_code/fly_vision/yolov7_ros/yolov7_ros/src/yolov7_ros/yolov7/data/文件夹下
INFO
如果您暂时无法登入该网站,可以通过以下方式下载
bash
roscd yolov7_ros/src/yolov7_ros/yolov7/data/
wget https://github.com/Phoenixtuav/Phoenixtuav.github.io/releases/download/v0.0.1/Phoenixtech.v1i.yolov7pytorch.zip- 解压缩该压缩包
bash
roscd yolov7_ros/src/yolov7_ros/yolov7/data/
unzip Phoenixtech.v1i.yolov7pytorch.zip- 找到
data.yaml,将前 3 行中的路径替换为绝对路径
.Cyf1huRV.png)
模型训练
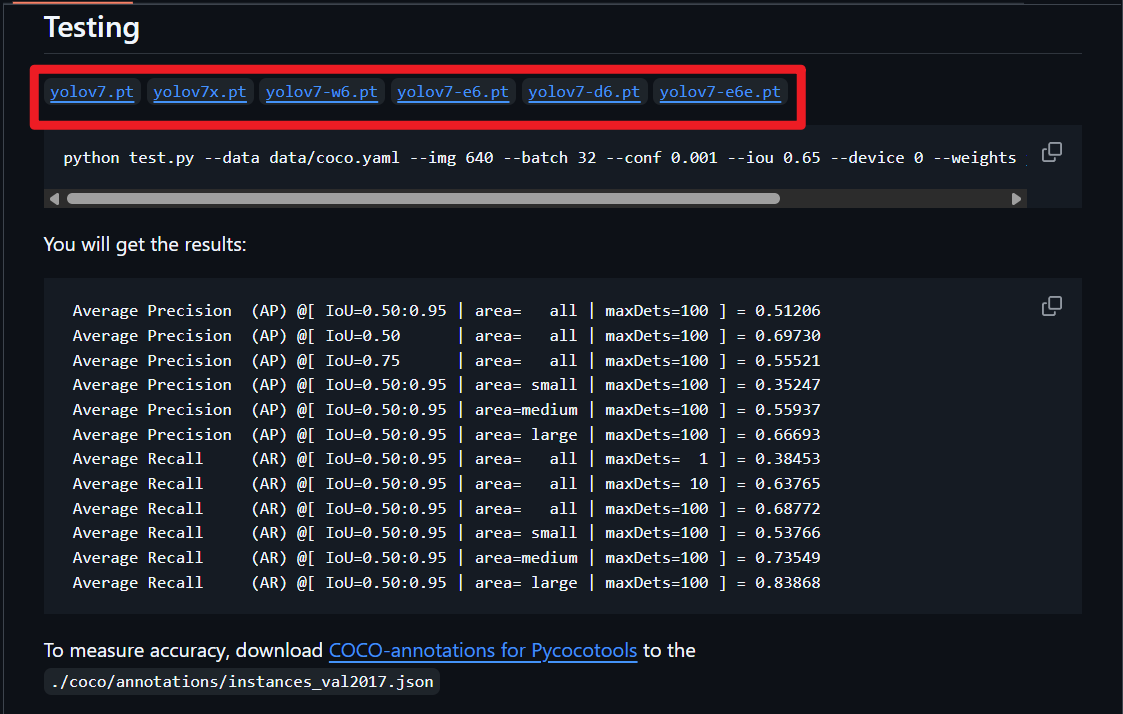
- 访问YOLOv7官方网址,选择所需要的预训练模型
.X5hoaoyP.png)
把文件下载到~/uav_ws/src/uav_code/yolov7_ros/yolov7_ros/weights/文件夹下
bash
roscd yolov7_ros/weights/
wget https://github.com/Phoenixtuav/Phoenixtuav.github.io/releases/download/v0.0.1/yolov7_training.pt- 找到
cfg/training文件夹下,选择你想要训练的模型版本,然后在该文件夹下复制一份,重命名一下,例如yolov7-phoenixtech.yaml - 将
yolov7-phoenixtech.yaml中的参数nc修改为数据集中实际样本种类
.DTbKdvWs.png)
- 执行以下指令开始迁移学习
bash
roscd yolov7_ros/src/yolov7_ros/yolov7/
python3 train.py --data data/data.yaml --batch-size 1 --cfg cfg/training/yolov7-phoenixtech.yaml --weights ../../../weights/yolov7_training.pt --name yolov7-phoenixtech --hyp data/hyp.scratch.custom.yaml --device cpu
参数设置(注意是相对路径)
| data | 数据集附带 | data.yaml |
|---|---|---|
| batch-size | 每轮训练调用的数据量 | 电脑性能可以设置得更多 |
| cfg | 模型结构文件 | |
| weights | 预训练模型 | 和 cfg 中的对应上 |
| name | 新模型名字 | |
| hyp | 模型超参文件 | 按默认就行 |
| device | 训练时用的设备 | 有 NVIDIA 显卡就选 cuda,否则选 cpu |
出现以下结果说明已经开始训练了
.BDNYvWPw.png)
INFO
您在使用YOLO时可能会遇到一些报错,请参考这篇文档解决。
- 每次训练结果在
runs文件夹下
:::
开始实验
打开深度相机:
bash
roslaunch realsense2_camera rs_camera.launch找到fly_demo包下的yolov7_ros.launch文件
xml
<?xml version="1.0" encoding="UTF-8"?>
<launch>
  <arg name="weights" default="$(find yolov7_ros)/weights/yolov7.pt" />
  <arg name="image_size" default="640" />
  <arg name="confidence_threshold" default="0.75" />
  <arg name="iou_threshold" default="0.45" />
  <arg name="device" default="cpu" />

  <node name="yolov7" pkg="yolov7_ros" type="detect.py" output="screen">
    <param name="weights" value="$(arg weights)" />
    <param name="image_size" value="$(arg image_size)" />
    <param name="confidence_threshold" value="$(arg confidence_threshold)" />
    <param name="iou_threshold" value="$(arg iou_threshold)" />
    <param name="device" value="$(arg device)" />
    <remap from="/image_raw"  to="/camera/color/image_raw" />
  </node>

  <node pkg="rqt_image_view" type="rqt_image_view" name="rqt_image_view" args="/image_dets"/>
</launch>| weights | 模型文件路径 | |
|---|---|---|
| confidence_threshold | 置信度,高于该值的检测结果才会被输出 | |
| device | 测试时调用的设备 | 有 NVIDIA 显卡就选 cuda,否则选 cpu |
| /image_raw | 输入给模型的图片话题 | 默认是/camera/color/image_raw |
| /image_dets | 检测结果输出话题 |
新开一个终端,启动 YOLOv7 节点:
bash
roslaunch fly_demo yolov7_ros.launch检测结果
图片结果输出在/image_dets话题下
.DFid-_Ha.png)
INFO
以下部分强烈建议点开链接,查看原始数据,增加理解!
具体结果输出在/detections话题下,格式为vision_msgs/Detection2DArray
可以用rqt中的Topic Monitor来查看话题内容:
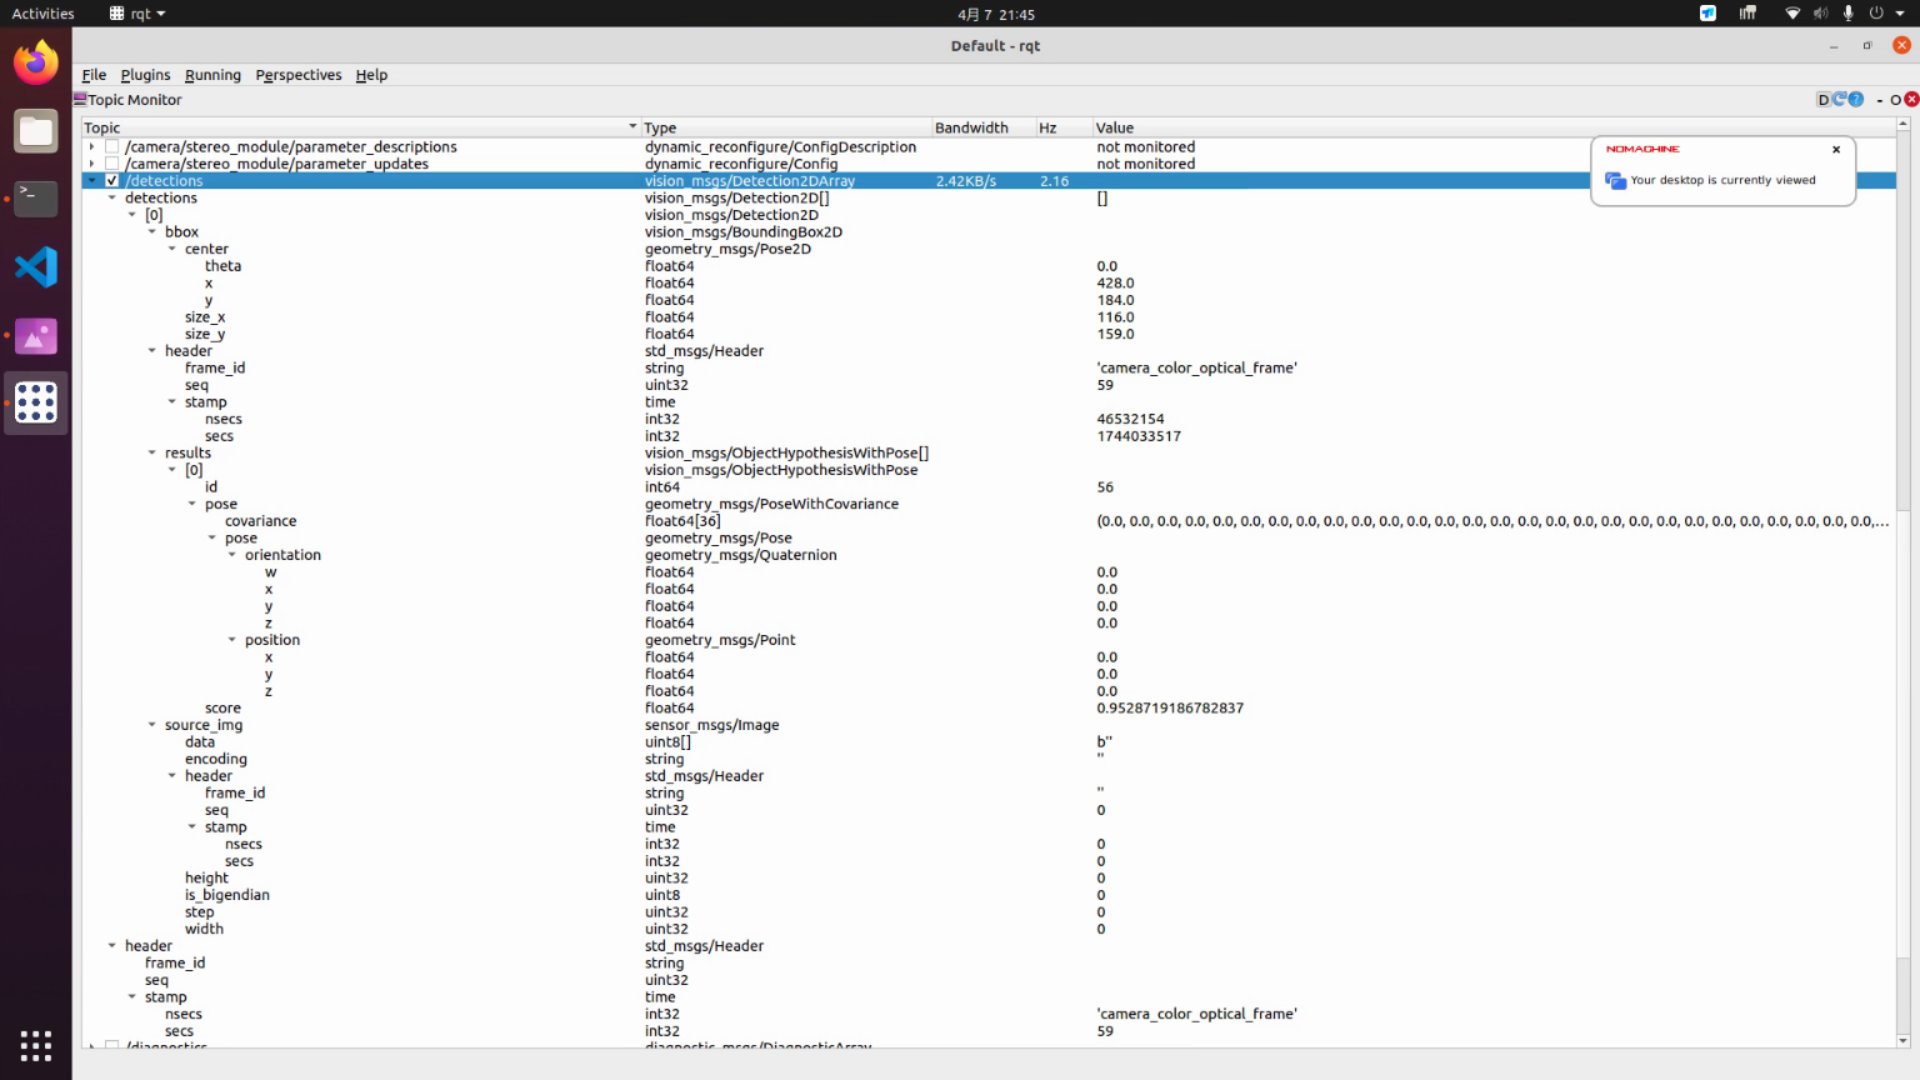
每一个框就是detections[]数组中的一个元素,这个元素的格式为vision_msgs/Detection2D
这个元素由以下几部分组成:
- vision_msgs/ObjectHypothesisWithPose格式的
results[]数组(一般只有 1 个元素)- 其中的每个元素包括
id(类别)、score(置信度)、pose(位姿)
- 其中的每个元素包括
- vision_msgs/BoundingBox2D格式的
bbox- 其中包括
center(物体中心的像素坐标,坐标系如上图黄色箭头表示)、size_x、size_y
- 其中包括
以下是一则简单的回调函数的例子:
cpp
void FSM::yoloCallback(const vision_msgs::Detection2DArray::ConstPtr &msg) {
    // 遍历所有检测到的目标
    for (size_t cnt_ = 0; cnt_ < msg->detections.size(); cnt_++) {
        // 获取当前检测的目标框
        vision_msgs::Detection2D detection = msg->detections[cnt_];
        vision_msgs::ObjectHypothesisWithPose result = detection.results[0];

        cout << "------------------ YOLO ------------------" << endl;

        // 确保类别是 landing_pad
        if (result.id == 4) {
            // 计算目标框的中心坐标(像素坐标)
            Eigen::Vector2d center_pixel_pad_(detection.bbox.center.x, detection.bbox.center.y);

            // 初始化数据
            centerErrorPad_ << center_pixel_pad_(0) - cx, center_pixel_pad_(1) - cy;

            cout << "centerErrorPad: " << centerErrorPad_.transpose() << endl;
        }
        else {
            cout << "NOT a landing_pad!" << endl;
        }
    }
}